Home-made honey and beeswax lipbalm

lip balm 1

For me lip balm is an essential through out all the seasons, if I don’t have one to hand at all times my lips become dry and chapped and not very pleasant at all.

I usually just use Vaseline but recently I’ve been using coconut oil on my lips (which don’t get me wrong is great and really soothes my lips) but I just wanted something a little more special and a little more like something you would find in a lush shop.

So when I found this recipe I know I had to make it! And so I did, and you know the amazing thing about it is that I could easily spend £5-£10 on a lip balm, and it have all these awful chemicals in it, or I could make my own for much much less and for it to only take 5 minuets.

I’ve found that this certain recipe really soothes the lips and nourishes them, but also has a bit of a sweet taste because of the honey. Hope you enjoy.x


INGREDIENTS…

ingredients lip 1

  • 1/2 oz beeswax (grated)
  • 2 1/2 oz sweet almond oil
  • 1/2 tablespoon honey

    DIRECTIONS…

  • Place the grated beeswax and almond oil into a ban marie (a glass bowl/tin can over a saucepan with boiling water in it)
  • Wait until it has almost completely melted and then add the honey
  • Then take it off the heat and with a teaspoon dip it into the mixture and then set it aside to cool down
  • When the spoon has cooled down place you finger onto the mixture (which is on the spoon) and test if it is the right consistency. If its too runny add a little more beeswax, if its too solid then add a little more almond oil.
  • Finally when your happy with the consistency pour into a small container and let cool for about 30-60 mins, be sure to leave the lid off whilst its cooling down.

    TIPS…

  •  If the mixture has started going a bit hard whilst its off the heat, just put it back on and keep stirring until it has become runny again and quickly (but carefully) pour into your container.
  • Make sure no water gets in the mixture cause it can spoil it and you may have to make it again.

Rose water facial spray.

spray 1                                                                      
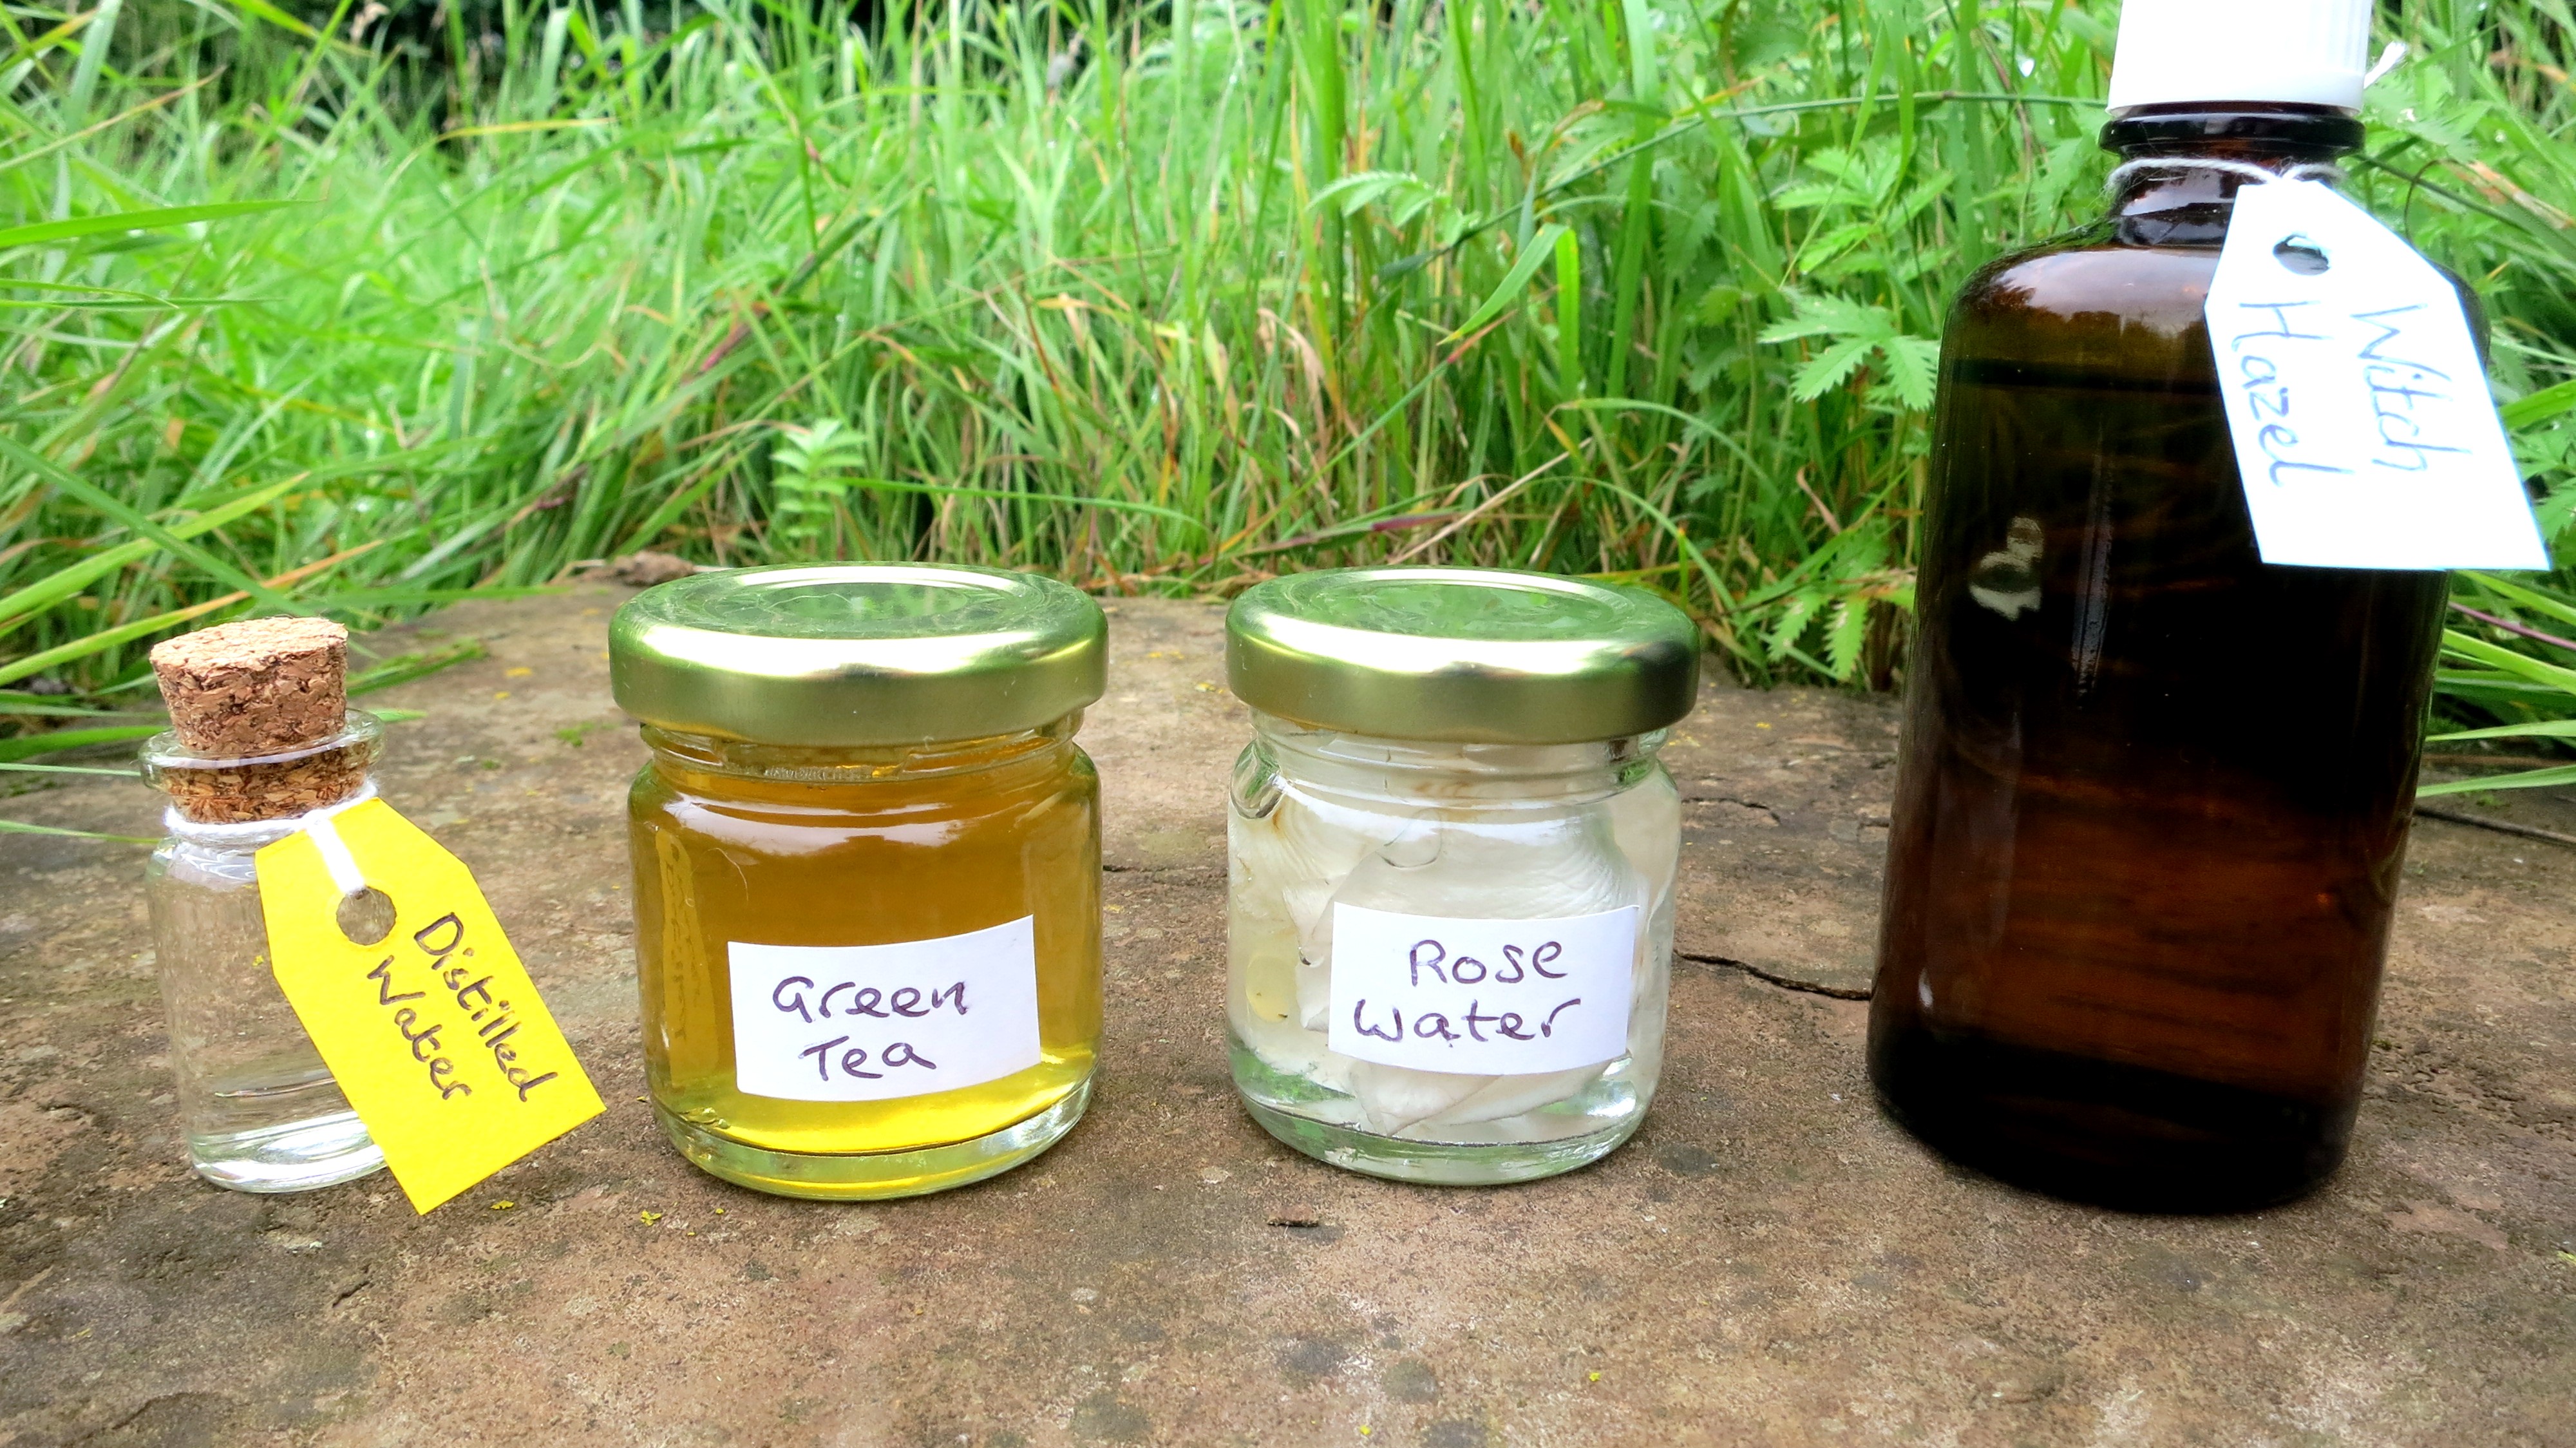
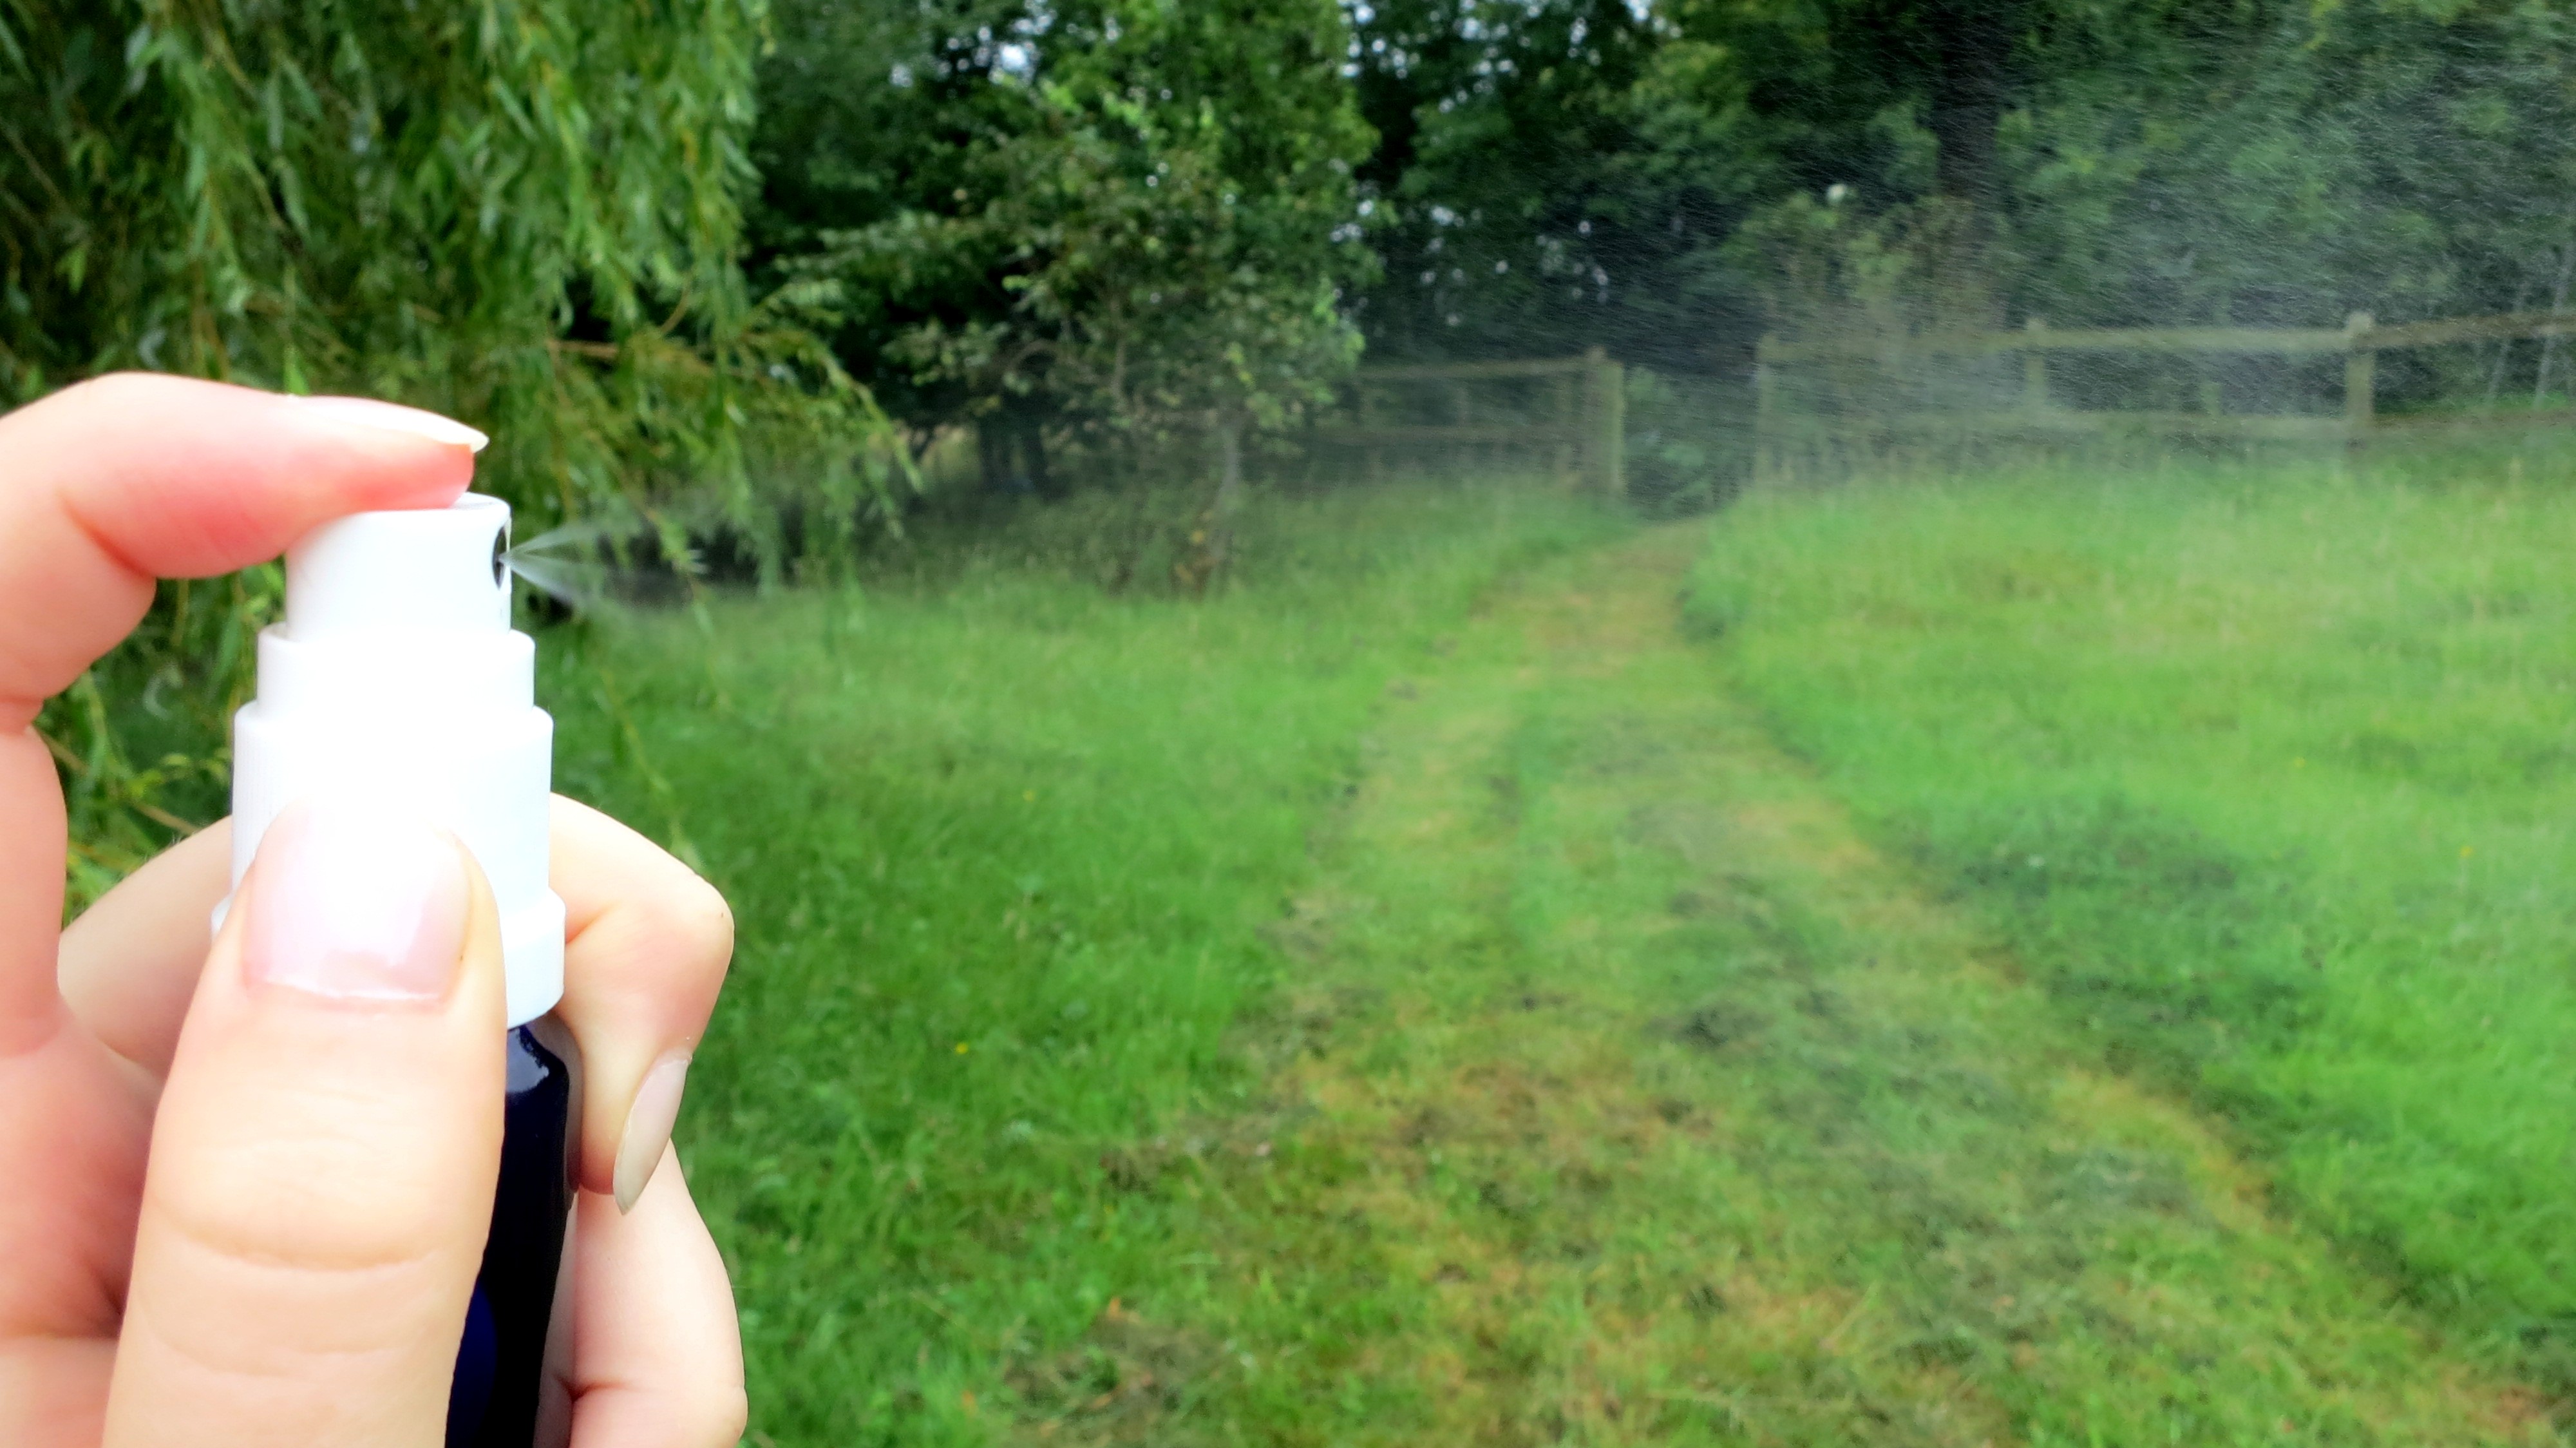
This all natural facial spray can be used as either a toner, or after applying make up spray onto face to help make up stay in its place through out the day.

I don’t personally like powder that you apply after foundation, because it makes my face feel heavy and doesn’t let your skin breathe. So when I came across this recipe on line I knew I had to try it out.

For me it is a much better alternative to powder in many ways it helps pores breathe by nourishing them rather than clogging them with un-natural substances, and it is safer for the environment.

Hope you enjoy. x


INGREDIENTS…

ingredients 1

  • 1/3 of a cup of witch hazel
  • 1 table spoon of rose water
  • 3 table spoons of green tea (strained)
  • 2 table spoons of distilled water.

    DIRECTIONS…..

  • First measure out all your ingredients
  • Pour your witch hazel into a small misting spray bottle (3 oz)
  • Then add the green tea
  • After that pour in your rose water
  • Finally add your distilled water.

    TIPS…

  • Make sure your misting bottle is glass not metal or plastic because the BPA can leak into the spray and may cause skin irritations, if you do use plastic make sure it is good quality.
  • To make rose water place a handful of rose petals in water and let them soak for awhile, then strain it and pour into a container.
  • Make sure you don’t get it in your eyes. And don’t spray onto open wounds.

spray 2

<a href=”http://www.bloglovin.com/blog/14407605/?claim=jem5efw5w8e”>Follow my blog with Bloglovin</a>

How to make a natural facial mask

INTRODUCTION.

My name is Amber May Clarke-McGrath and I’m a teenage blogger from  Herefordshire. I go to a Steiner school in rural England and I am a vegetarian.

I started this blog because one day I was looking up home-made facial masks to do at home, because I didn’t want to spend £20 on one which might have lots of nasty chemicals in. I then found lots of different people’s blog which I really liked and which inspired me to create ‘Naturally May’.

I’d like to share some of my favourite natural beauty recipes with you that I have discovered online, and I will also be introducing some of my own creations. I also enjoy baking and cooking so I will also be sharing my favourite recipes with you. I will also be showing you how to be a teenager on a budget sharing up-cycled fashion ideas and vintage/rustic room ideas. I love to find bargains in my local charity shops and create my own unique style without ‘costing the earth.’

Here is one of my favourite facial mask recipes to make. Hope you enjoy. x


Coconut oil, Honey, and Lemon juice facial mask.

mask coconut 2

INGREDIENTS…


  • 1 table spoon of organic extra virgin coconut oil.
  • 1 and a half table spoons of honey (preferably raw honey).
  • 1/2 teaspoon of lemon juice.

ingredeince coconut


DIRECTIONS…

  • Get a small mixing bowl and place your coconut oil in it.
  • Mix until it has become a little more like a paste.
  • Then add your honey and mix well.
  • Finally add your lemon juice and mix until mixture is well combined.
  • Apply to cleansed face and leave on for 10-15 mins.
  • Wash off with cool water.

    TIPS…

  • Your mixture may separate when you add your honey and lemon juice, but don’t worry, if you just add a little more coconut oil it will come together.
  • You may want to put it in the fridge to harden up a little, but don’t leave it in too long as it will become to hard to use.
  • This is a great mask for teenagers as the honey helps fight acne and blemishes, and the lemon juice helps tighten those open pores. Also the coconut oil is a great moisturiser.

mask coconut